FASHION AND BEAUTY UNITED
  • Home
  • About
  • Wonder Woman Of The Week
  • Windsor Wednesday Feature
  • FABU Magazine
  • Blog
  • Contact
  • Fab Food Fridays
  • Home
  • About
  • Wonder Woman Of The Week
  • Windsor Wednesday Feature
  • FABU Magazine
  • Blog
  • Contact
  • Fab Food Fridays
Search by typing & pressing enter

YOUR CART

Picture

10/11/2021 0 Comments

Photography 101 for dummies

Picture
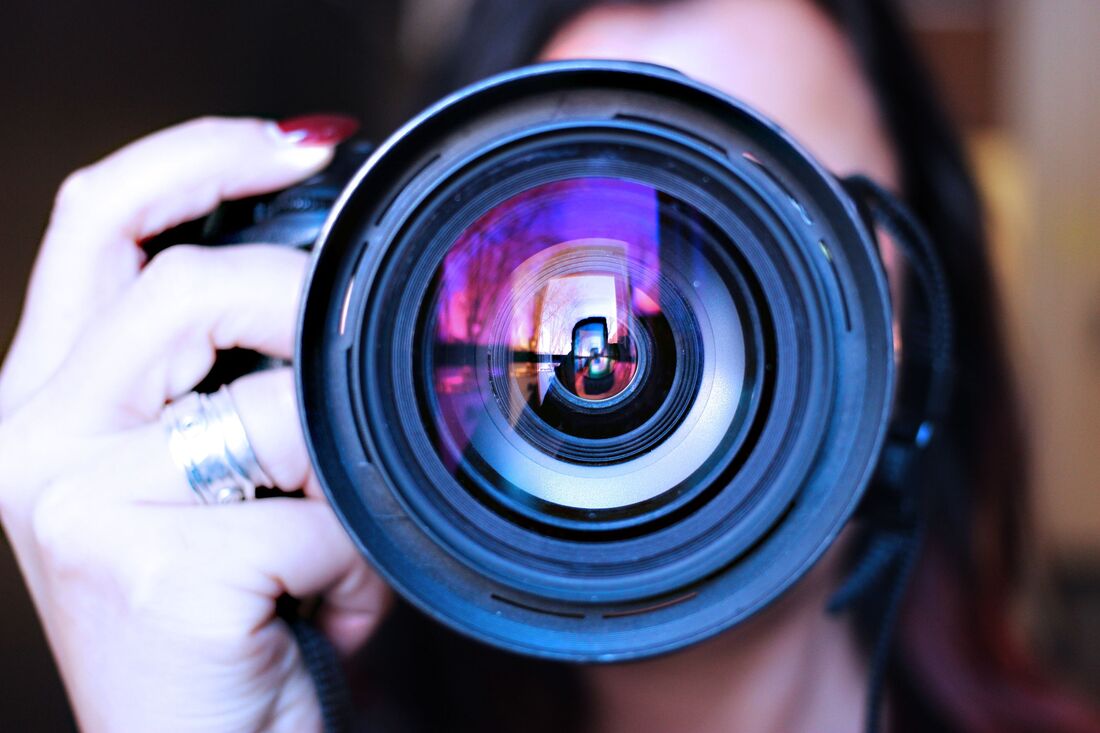
Inspiration can come at any time and any moment, and I can’t even begin to express how many times I’ve seen something and thought, “damn, I wish I brought my camera with me.” 
Once you get into the art of photography, the options are endless when it comes to creating a digital masterpiece, but first things first, you need to know how to control the beast and tame it in the way you like it. Yes, I’m talking about your camera.

There are so many ways you can create a beautiful shot, and depending on what you’re shooting, there are a few basic skills every beginning photographer should have in their rule handbook.

  • Pay Attention to your light 
This is a simple but handy tip. Whether you’re in direct sunlight, a shaded area or in a dark room, your light is what will dictate your photo to turn out well. Often, the goal here is to balance the light’s intensity between your subject and background. So even if you’re photographing a fantastic sunrise, the photo could turn out bad depending on the way you shoot it and what type of lighting is hitting your camera.

The easiest way to solve this is to pay attention to the direction and softness of the light. If the light is too harsh, you could get bad shadows going across your subject, which is especially a problem for portrait photography. 
If your light is coming in and creating an unflattering look on your subject, see what you can do to move around your light source, whether in a studio or outside, wait until you can see your subject correctly through your viewfinder.

  • Set Your Camera to Raw
RAW is a file format just like JPEG, but very different from JPEG. This element allows your camera to capture all the images recorded data by your camera sensor rather than compressing your image, which JPEG does. When I shoot in RAW, it gives me the ability to have higher quality images and has allowed me WAY more control in post-production. For example, have you ever taken a great image, but the lighting was too dark and editing it in Photoshop as a JPEG did nothing? I could promise you that if the same thing happened in a RAW file, you would have more control and more ability to fix that image.

  1. Stop using your on-camera flash
Time and time again, I have made this mistake. Your on-camera flash is meant to be there as a security blanket, a backup, but it doesn’t get the job done. If you’re not careful, using your built-in camera flash at night or in low light situations can lead to some unpleasant effects like red eyes, shadows and sometimes blur. Therefore, it’s recommended to get your camera an attachable flash, one that is a good backup in case you need a flash in low light settings.

  • Be Selective
It’s a good thing to realize that every photographer has taken some bad shots, no matter how talented or skilled. Their work stands out because they only put out their best images, the few that turned out the best. 
That’s why it’s best to be selective and remember quality over quantity. Sure, you can take over 2000 photos over the course of eight hours at a wedding, but a lot of the time, only about 500 turn out great, and that’s ok. So promise your clients quality over quantity. 

  • Learn from your mistakes
This one was so hard for me to apply. Even if I knew in the back of my head that a photo I took didn’t turn out well, I would still tell myself it was good to avoid self-disappointment. Not all your photoshoots and sessions will turn out great for many reasons but use these as tools and ways to learn from your mistakes and analyze what you can do better next time to make sure you avoid it.

  • Understand your Exposure Triangle
Although it may seem scary to have to remember all of this, it will just come naturally to you once you take the time to learn. The Exposure Triangle simply refers to the three most important elements, ISO, Shutter Speed and Aperture. Especially when you’re shooting in manual mode, you will need to know these three elements to make sure your image turns out crisp and clear.

ISO: Controls the camera’s sensitivity to light.

Shutter Speed: Controls how long the shutter stays open when you take a picture.

Aperture: This is the opening of your lens and controls how much light gets through the camera sensor. 
If you can apply all of this into your daily manual, I promise your work will start being more consistent, more clear and you’ll be proud of yourself! 


0 Comments


Leave a Reply.

    Categories

    All

    Categories

    All

    Author

    Julianna Bonnett

    Matt Jean​

    Archives

    March 2023
    February 2023
    January 2023
    December 2022
    November 2022
    October 2022
    September 2022
    August 2022
    July 2022
    June 2022
    May 2022
    April 2022
    March 2022
    February 2022
    January 2022
    December 2021
    November 2021
    October 2021
    September 2021
    August 2021
    July 2021
    June 2021
    May 2021
    April 2021
    March 2021
    February 2021
    January 2021
    December 2020
    November 2020
    September 2020
    August 2020

    Categories

    All

    RSS Feed